Yeast dough is one of those things you either can or can’t do, isn’t it? Not quite. Sure, it takes a little practice, but with these simple tips, everyone can whip up yeast dough in no time at all. All you need is a generous pinch of confidence – and, of course, yeast.
It doesn’t actually matter which type you use – you can make yeast dough with both. In other words, those taken by a spontaneous urge to bake a plaited bun but ‘only’ have dry yeast needn’t worry if they don’t have any fresh yeast in the refrigerator. It’s simply a matter of following the pack instructions. By the way, unlike bread, yeast dough does not usually require a starter yeast. Those who really want to use a starter dough can of course do so, and will be rewarded with a lighter bake that stays fresh for longer.
If yeast dough had human characteristics, there is no doubt it would come under the category of sensitive souls. It needs attention and loves to be caressed. But it’s worth it. It laps up another round with the dough hook or a few extra minutes’ kneading by hand. After all, the more care a yeast dough receives, the better it will rise later. This is ensured by the fungus in the yeast – it ‘eats’ the sugar contained in the flour starch and produces alcohol, flavours and carbon dioxide as a result. The dough ferments and rises, thus ensuring the desired even, fine-pored bake. But be careful – it’s also possible to overproof dough!
When yeast dough rises, little bubbles form. Flour starch that has not yet been converted into sugar by the yeast remains in the dough. At some point, the starch is no longer capable of holding the carbon dioxide, and the dough collapses. Luckily, however, the dough has to be left to rise for a considerable time for this to happen. Most recipes specify two rises, starting with a longer proofing of around one hour until the dough has doubled in size. After subsequently shaping it, for instance into muffins or plaited buns, the dough should be left to rise again for another few minutes.
Yeast dough should ideally be left to rise in a warm place – this is where it is happiest! But make sure the temperature doesn’t exceed 40°C. A boiler room is therefore a good choice, or anywhere near a radiator. You can even tuck your yeast dough up in bed under a duvet. Or is that taking things a little too far? The oven can also be a simple solution. Even when placed the sink, the dough will rise to its full size. Simple fill the sink with lukewarm water and place the yeast in it in a bowl.
But what if your yeast doesn’t rise? All is not lost!
Of course, it can happen that your yeast dough just doesn’t want to rise. As already said, it’s a sensitive character! Perhaps the yeast needs a little food – a pinch of sugar stimulates the yeast in the dough and encourages it to rise (more). If your dough isn’t rising at all, it is probably too cold. Simply adjust the temperature and choose a warmer place. Make sure that the dough does not become too warm, as this will spoil it and it will have to be prepared again from scratch. If the dough is too firm, try gradually adding a little liquid. But always true to the motto of ‘good things come to those who wait!’ Whether water or milk, the liquid must be kneaded in little by little.
The opinions are divided. We do not recommend it because the quality of the dough suffers. The dough pulls water through the freezing process and contains more moisture after thawing - it becomes greasy. In addition, it can even burst in some places. If you still want to freeze it, it should already be brought into the form in which you want to bake it later, for example as a loaf of bread. Pack the loaf well, for example in a freezer bag and freeze it quickly. Then it can be kept for up to six months. When you are ready to use it, simply defrost the dough overnight in the refrigerator and then leave to rise in a warm place as usual. Then bake it in the oven according to the recipe.
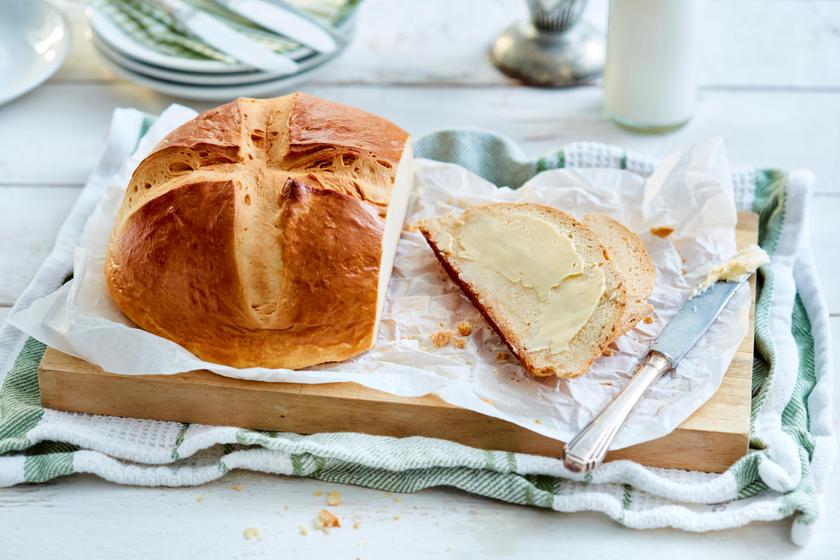
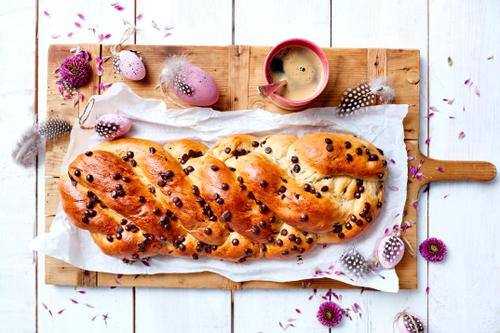
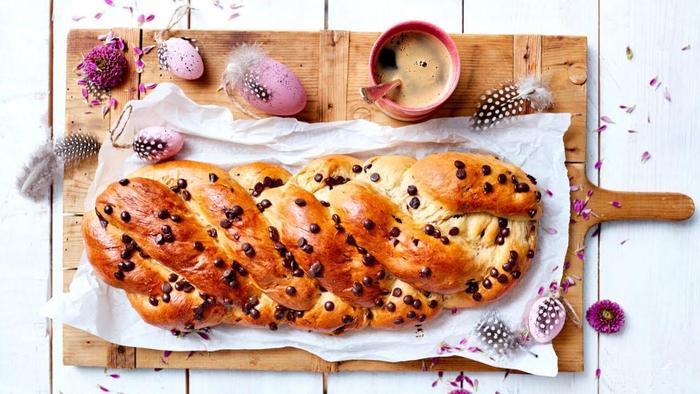
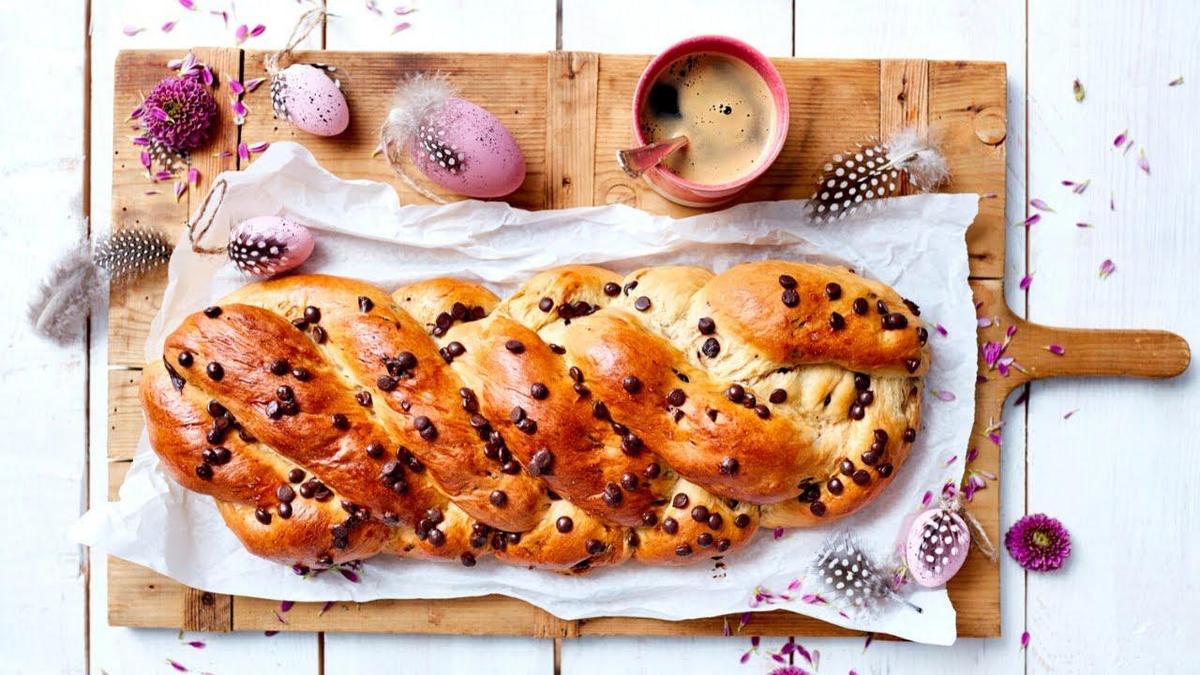
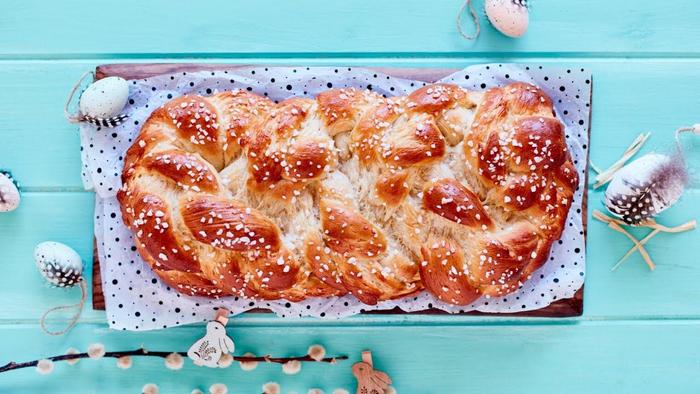
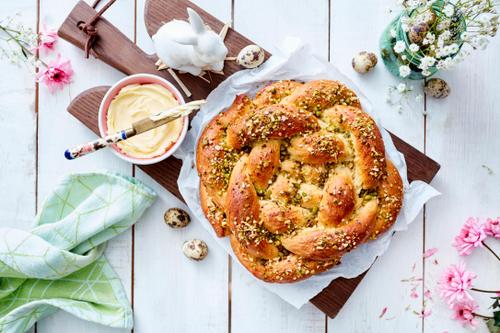
In some countries, it is traditional to eat yeast-risen pastries on special holidays. In Christian countries, for instance, there are numerous variations of Easter bread, which signifies the end of Lent. Its round shape is said to symbolise the power of the sun and promises a productive year. Shaped as a plait, the bread embodies the connection between humanity and god. Fruits like sultanas and raisins, sometimes soaked in rum, are often baked into the bread, as are all kinds of nuts.
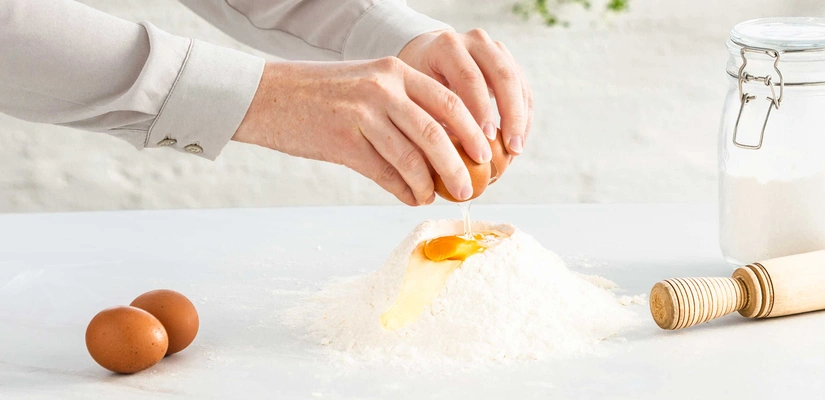
Enough theory, it’s time to get to work! This is the simple basic recipe for yeast dough.
Yeast dough: here’s how!
Bread & Bun
Orange Brioche Bread
Who has the prettiest plait? These easy ‘How to’ tutorials will have you bossing the braid in no time. Although the classic version uses three strands, the possibilities are endless! Why not give five a go, or perhaps even nine? Be brave and go for it – the result will be delicious whichever design you choose!
With five strands
Knead the dough on a floured surface and cut into five equal parts. Roll them out into five strands of approx. 40 cm. Press all of the ends together at one side and position the strands so that two strands are on the left and three are on the right.
- Now take the rightmost strand and place it between the two left strands. Next, take the leftmost strand and place it between the two strands to the right of it.
- Now take the second strand from the left and lay it over the next strand to the right.
- The strands should now appear as they did in the starting position, with three strands on the right and two strands on the left.
Then start from the beginning again. Repeat the plaiting process (approx. 4 to 5 times) until the ends of the strands are approximately level, then press them together.
Note: The plait will appear slightly diagonal towards the left – this happens automatically.
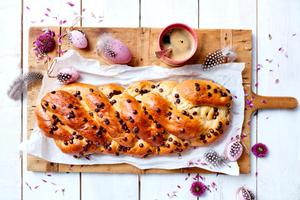
Place the plaited bun on a baking tray lined with baking paper and leave to rise again for 30 minutes. Then brush with egg white, sprinkle over some chocolate drops if you like and bake for approx. 25-30 minutes.

With nine strands
Knead the dough on a floured surface and cut into nine equal parts. Roll them out into nine strands of approx. 60 cm. Next, form three groups each with three strands to shape into three classic plaits. Press together the ends on one side and then alternately place the outer right strand over the strand in the middle. Then take the outer left strand and place it over the strand in the middle. And so on.
Once all plaits are complete, braid them together to form a classic plait design. To do this, press the ends of all three plaits together and braid. Repeat the plaiting process (approx. 3 to 4 times) until the ends of the strands are approximately level, then press them together.
Note: The plait may look different depending on whether the strands are braided from below or above.
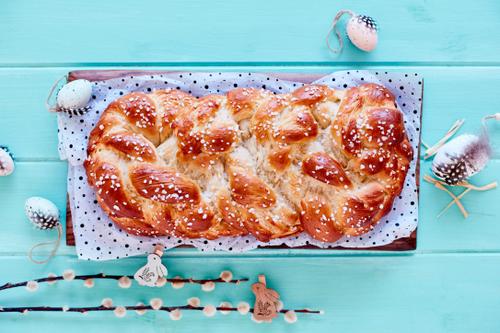
Place the plaited bun on a baking tray lined with baking paper and leave to rise again for 30 minutes. Brush with egg white and bake for approx. 25-30 minutes. Once the plait has cooled, decorate with sugar icing and marzipan carrots.


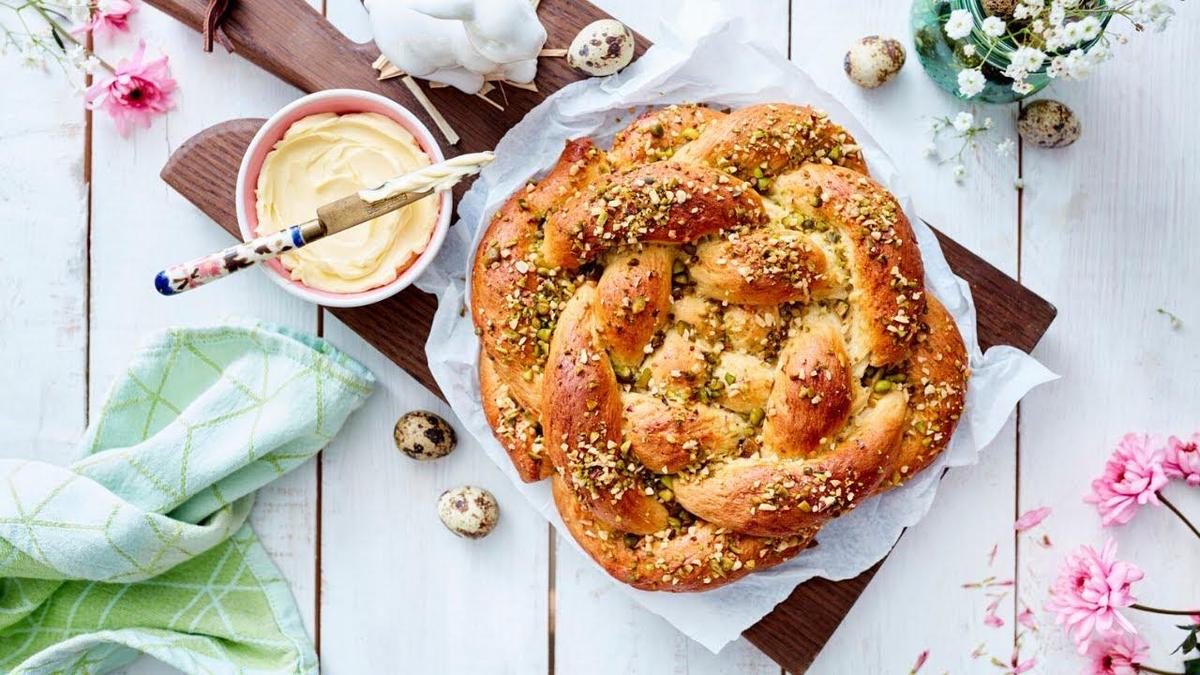
Knotted buns
Knead the dough on a floured surface and cut into four equal parts. Roll them out into four strands of approx. 50 cm. Lay the four strands in a diamond shape crosswise so that a small square is created in the middle. To do this, position two strands transversely on the work surface. Then criss-cross the other two strands lengthwise over the transverse strands. Take the lower transverse strand and lift it over the right lengthwise strand and the upper transverse strand over the left lengthwise strand. The result will resemble a diamond. Starting from the middle, two strands extend towards the right, two downwards, two to the left and two upwards.
Plaiting is then started with one of the strands positioned under another strand, for example on the top right strand. Take this strand and place it over the neighbouring lower strand in a clockwise direction. Repeat this process with all strand pairs. When you are back where you started, begin the process again in an anti-clockwise direction. To do this, place the lower right strand over the upper right strand. Move to the next strand and place it over the neighbouring strand and so on. Repeat the process once more. Then do it a third time in the opposite direction. Simply slip the ends under the knots and press. This creates an even-looking knot.
Place the knotted buns on a baking tray lined with baking paper and leave to rise again for 30 minutes. Then brush with egg white, sprinkle over some pistachios and almonds and bake for approx. 25-30 minutes.